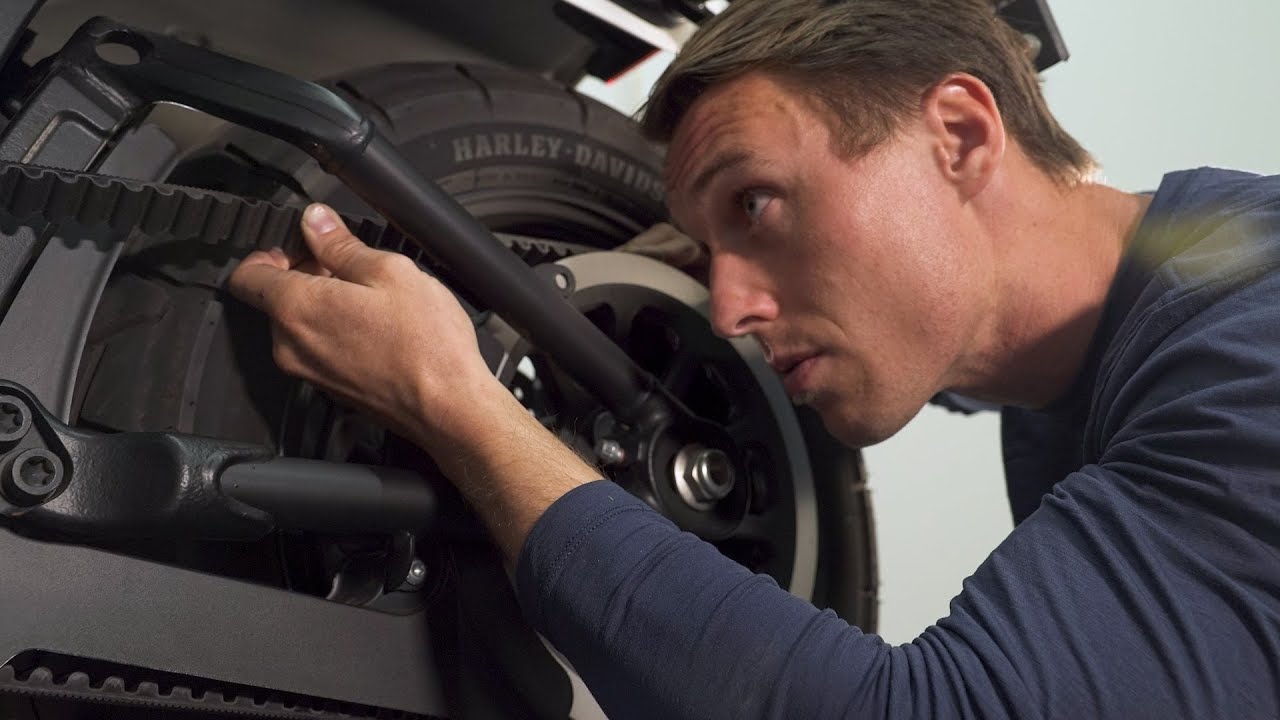
A serpentine belt can be cleaned only when the contamination is light, superficial, and water-soluble. Switch off the engine, remove the key, let all components cool, and prevent accidental starting before touching the accessory drive.
Cleaning is not suitable for a belt soaked with engine oil, coolant, power-steering fluid, fuel, or another automotive chemical. Dayco advises replacing an oil-soaked serpentine belt because petroleum contamination can weaken and swell EPDM material (Dayco, How to Fix Serpentine Belt Noise).
This guide explains safe surface cleaning, belt removal, pulley inspection, prohibited chemicals, and the mechanical faults that cleaning cannot solve.
Key Takeaways
- Keep the engine off whenever hands or tools are near the belt.
- Use a barely damp lint-free cloth for light surface dust.
- Never apply belt dressing, oil, solvents, or harsh degreasers.
- Replace a fluid-soaked, swollen, glazed, frayed, or damaged belt.
- Persistent noise requires inspection of tension, alignment, pulleys, and bearings.
1. Can You Safely Clean a Serpentine Belt?
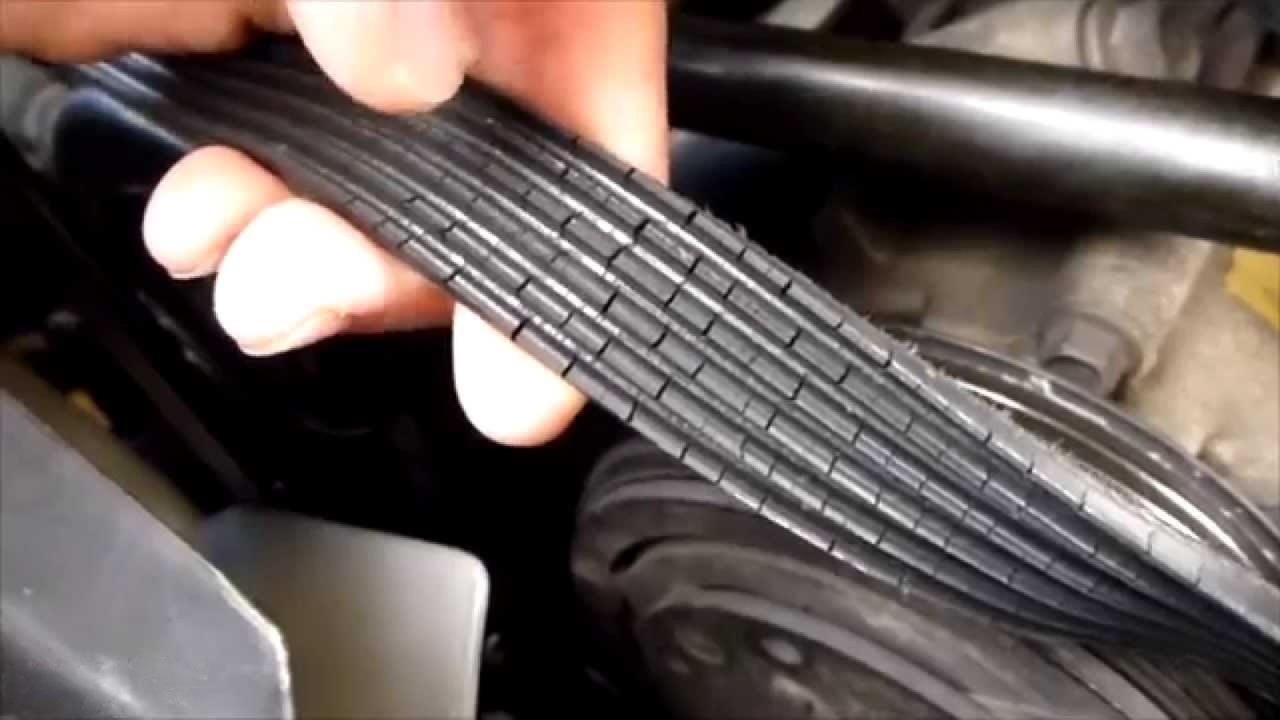
You can safely remove light dry dust or minor water-soluble residue from an otherwise healthy belt. The engine must remain off and cool. The belt should show no swelling, softening, glazing, edge damage, missing ribs, exposed cords, or absorbed automotive fluid.
Most modern serpentine belts use EPDM rubber, which wears differently from older neoprene belts. Gates notes that EPDM belts may run for long distances without the visible cracking once used as the main replacement indicator (Gates, Tech Tip on Serpentine Belt Inspection Changes). Cleaning the surface does not restore worn rib material.
Cleaning is reasonable for loose dust, dry road residue, or a small amount of clean water. It cannot repair automotive-fluid contamination, embedded grit, glazing, missing rubber, cracks, fraying, exposed cords, low tension, or pulley drag. These conditions require diagnosis and usually replacement.
Continental’s automotive belt guidance lists oil, coolant, and other fluid contamination as reasons to repair the leak, clean the pulleys, and change the belt (Continental, Power Transmission Group Automotive Workbook).
2. What Tools and Materials Do You Need?
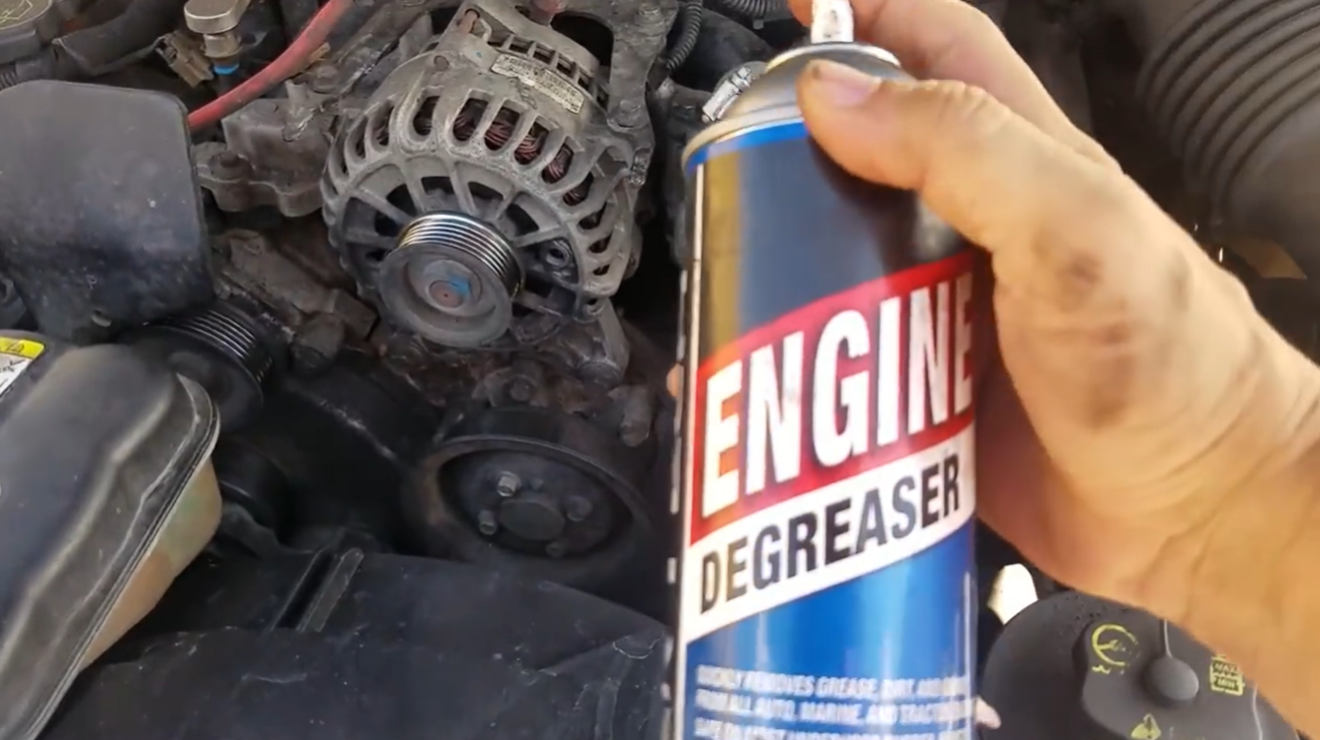
The safest cleaning kit is simple. Use protective equipment, clean cloths, water, adequate lighting, and the correct service tools if the belt must be removed. Avoid selecting a chemical cleaner before identifying both the contamination and belt material.
Prepare:
- Safety glasses and close-fitting gloves
- Clean microfiber or lint-free cotton cloths
- A small container of clean water
- Flashlight or inspection lamp
- Belt-routing diagram or a clear photograph
- Correct tensioner-release tool or socket
- Vehicle service information
- Belt-wear gauge when available
- Soft non-metallic brush for removed metal pulley grooves
Do not use a wire brush, abrasive pad, or sharp pick on the belt. These tools can cut ribs and expose tensile cords. Do not use compressed air at close range because it can drive debris into bearings or electrical components.
If the drive is difficult to access, stop before removing guards, mounts, or other components without service instructions. Some vehicles require a wheel, splash shield, engine mount, or special tensioner tool to reach the belt safely.
3. How Do You Clean a Serpentine Belt Step by Step?
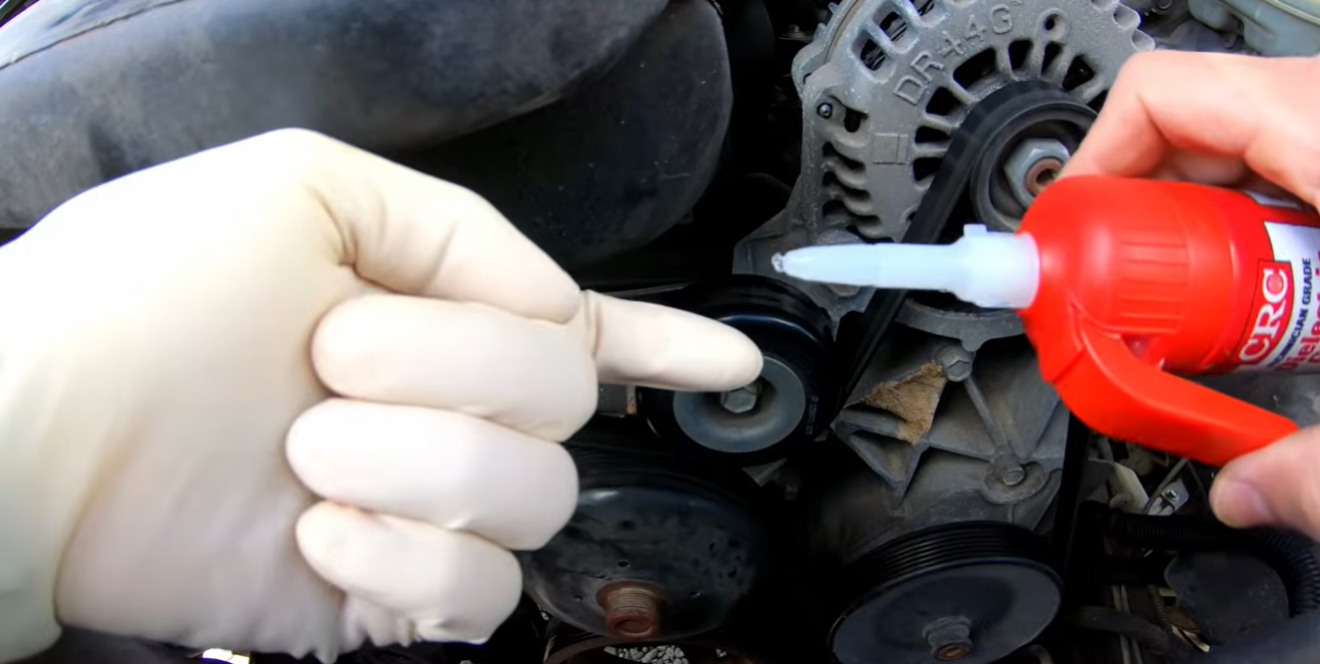
The correct process starts with diagnosis, not washing. Determine whether the residue is harmless surface dirt or evidence of a leak. A contaminated or damaged belt should be replaced after the source is repaired.
- Park and isolate the vehicle. Park on level ground, select Park or the specified gear, and apply the parking brake. Switch off the ignition, remove the key, and move any remote-start fob away from the vehicle.
- Let the engine cool. Wait until the belt, pulleys, radiator hoses, exhaust parts, and cooling system are safe to approach. Never open a pressurized cooling system to investigate belt contamination.
- Record the belt route. Find the under-hood routing label or service diagram. Take clear photographs showing every pulley and whether the ribbed or smooth belt side contacts it.
- Inspect before cleaning. Use a light to check the belt back, edges, and visible ribs. Look for fluid, swelling, glazing, missing sections, frayed edges, exposed cords, and incorrect tracking.
- Identify the residue. Touch an accessible area with a clean white cloth. Dry gray dust may be removable. Greasy, colored, sticky, or strongly scented residue indicates a fluid or chemical that needs diagnosis.
- Decide whether removal is necessary. A lightly dusty accessible surface can be wiped in place. A thorough rib and pulley inspection requires belt removal. Fluid-soaked belts should be discarded rather than cleaned for reuse.
- Release tension correctly. Follow the vehicle procedure and use the approved tensioner tool. Keep fingers away from pinch points and control the spring-loaded tensioner throughout its movement.
- Remove and inspect the belt. Lay the belt in its natural shape without reverse folding it sharply. Inspect the complete circumference, rib valleys, edges, backing, and printed markings.
- Wipe cleanable surface dirt. Dampen a lint-free cloth with water and wring it nearly dry. Wipe gently along the belt. Do not soak, scrub aggressively, stretch, or sand the EPDM surface.
- Clean and inspect the pulleys. Remove dry debris from grooves with a soft non-metallic brush and cloth. If automotive fluid is present, repair the leak and follow component instructions for cleaning the pulley material.
- Let all parts dry. No water or loosened debris should remain in the grooves. Rotate each accessible pulley by hand, where permitted, and check for roughness, binding, wobble, or excessive play.
- Reinstall or replace the belt. Route it exactly as specified and ensure every rib sits in the correct groove. Release the tensioner smoothly and verify seating around the complete drive.
- Check from a safe distance. Remove every tool and cloth. Start the engine while standing clear. Observe tracking and tensioner movement without reaching into the engine bay.
Never rotate the belt by starting or bumping the engine while your hands are nearby. If another belt section must be exposed during an in-place inspection, use only the vehicle manufacturer’s approved manual engine-rotation procedure.
For a method limited to accessible dust without belt removal, see TranBelt’s guide to cleaning a serpentine belt without removing it.
4. How Should You Clean the Pulleys?
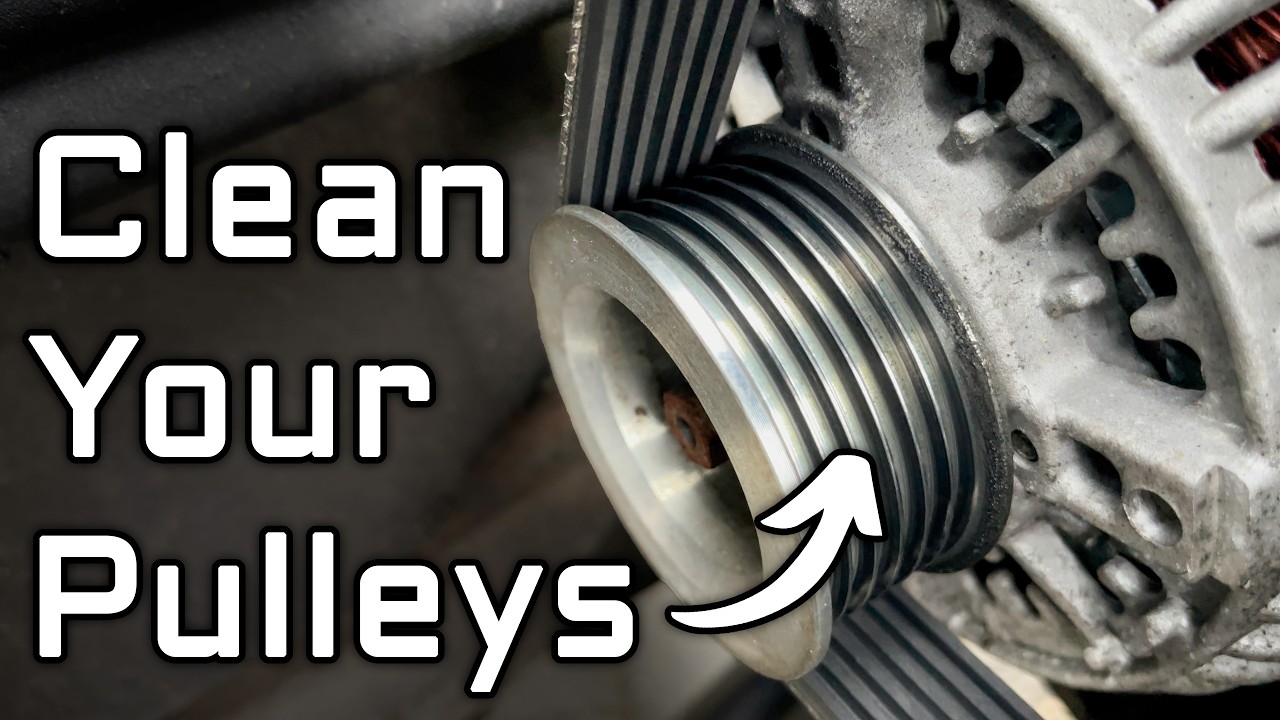
Remove the belt before cleaning pulley contact surfaces. An installed belt blocks the grooves and creates pinch points. Proper access also lets you inspect the tensioner, idlers, alternator pulley, crankshaft pulley, compressor, water pump, and power-steering pulley where fitted.
Start with dry cleaning. Use a clean cloth and a soft nylon brush to lift dry rubber dust or loose dirt from metal grooves. Work around the complete circumference without rounding groove edges. Do not scrape coated or composite pulleys with metal tools.
Fluid contamination requires more than wiping. Locate and repair the valve-cover, crankshaft-seal, power-steering, coolant, or service-spill source. Continental recommends cleaning the pulleys and replacing the belt after oil, coolant, or other fluid contamination.
Chemical suitability depends on the pulley, bearing seals, coatings, nearby plastics, and electrical components. A product that is acceptable on bare steel may damage a decoupler, painted pulley, plastic idler, rubber damper, or sealed bearing. Follow vehicle and component instructions rather than spraying general-purpose brake cleaner through the engine bay.
Inspect each pulley after cleaning. Grooves should be uniform and free from packed material. Flanges should not be bent or sharp. A rough bearing, wobbling pulley, weak tensioner, or seized accessory must be repaired before a new belt is installed.
5. Which Cleaners Should You Avoid?
Avoid any product intended to lubricate, soften, swell, shine, or make the belt temporarily sticky. A modern multi-rib belt transfers power through controlled rib friction and tension. Chemicals can alter that friction while hiding the underlying fault.
Do not apply:
- Belt dressing
- WD-40 or penetrating oil
- Engine oil or silicone lubricant
- Brake or carburetor cleaner
- Petrol, diesel, kerosene, or mineral spirits
- Acetone, paint thinner, or strong solvent
- Undiluted household degreaser
- Tire shine or rubber conditioner
- Abrasive cleaner or sanding material
- Pressure-washer spray
Dayco explicitly warns never to solve serpentine-belt noise with belt dressing. It identifies dressing, engine oil, power-steering fluid, antifreeze, and other chemicals as contamination sources that can cause noise or material damage.
Soap is not automatically suitable for in-place belt cleaning. Residue can change friction and may remain in hidden grooves. Plain water on a nearly dry cloth is the conservative method for light dust. If water cannot remove the contamination, determine whether replacement is safer than trying a stronger chemical.
Water should never be sprayed into a running drive as a routine cleaning technique. Manufacturers may describe controlled water tests for trained noise diagnosis, but that does not make engine-on cleaning safe.
6. When Is Cleaning Not Enough?
Cleaning is not enough when belt material, drive geometry, tension, or pulley condition has deteriorated. Surface appearance is only one part of the decision. Modern EPDM ribs can lose material and change profile without showing dramatic cracks.
| Condition | Clean and Reuse? | Correct Response |
|---|---|---|
| Light dry surface dust | Usually | Wipe gently and inspect |
| Small clean-water splash | Usually | Dry and inspect tracking |
| Oil, coolant, or power-steering fluid | No | Repair leak, clean pulleys, replace belt |
| Belt dressing or oily spray | No | Clean drive and replace belt |
| Glazed or hardened ribs | No | Diagnose slip and replace belt |
| Swelling, softening, or chemical odor | No | Identify chemical and replace belt |
| Missing rib material or exposed cord | No | Replace belt and inspect alignment |
| Repeated squeal or chirp | Cleaning rarely solves it | Diagnose tension, alignment, and bearings |
Dayco states that an oil-soaked serpentine belt must be replaced. Reusing it after washing leaves uncertainty about absorbed fluid, swelling, tensile-cord adhesion, and future friction.
Replace the belt if its ribs have worn from a sharp V-like profile toward a broad U-shaped profile, as described in Dayco’s inspection guidance. A belt-wear gauge provides a better assessment than crack counting alone (Dayco, Serpentine Belt Inspection and Noise FAQs).
A replacement should not be fitted until the cause is addressed. A leaking seal, misaligned pulley, rough idler, failing tensioner, or seized accessory can damage the new belt quickly.
7. Why Does a Serpentine Belt Still Squeal After Cleaning?
Persistent squeal usually means dirt was not the root cause. Dayco lists low tension, accessory drag, worn tensioners, pulley problems, and fluid contamination among common reasons for serpentine-belt noise.
Squeal is often associated with sliding between the belt and pulleys. Possible causes include insufficient tension, a weak automatic tensioner, an incorrect belt length, high accessory resistance, or fluid on the ribs. The sound may continue for several seconds and change with load.
A repetitive chirp more often points toward pulley misalignment, an incorrectly seated belt, rib damage, or a wobbling pulley. The frequency usually rises with engine speed because one area of the rotating drive creates the repeated disturbance.
Grinding, rumbling, or knocking should not be treated as belt dirt. These sounds can indicate an idler, tensioner, alternator, compressor, water-pump, or power-steering bearing problem. Switch off the engine and arrange inspection.
Gates recommends treating the accessory drive as a system. Its Complete Micro-V kits include the belt, tensioner, and pulleys because worn tension components can shorten the life of a replacement belt (Gates, Complete Micro-V Serpentine Belt Kits).
Do not keep applying water or another product to chase a noise. Inspect tensioner travel, pulley alignment, bearing condition, belt wear, routing, and accessory drag with the engine isolated.
8. Frequently Asked Questions
1) Can I wash a serpentine belt with soap and water?
Use only a nearly dry water-dampened cloth for light surface dust. Soap can leave residue within the ribs and change friction. A belt soaked with automotive fluid should be replaced after the leak is repaired.
2) Can I use brake cleaner on a serpentine belt?
No. Brake-cleaner formulations can affect elastomers, coatings, plastics, and nearby components. They also cannot reverse oil absorption or rib wear. Replace a chemically contaminated belt.
3) Does belt dressing stop squealing?
It may change the sound temporarily, but it does not repair low tension, misalignment, worn ribs, bearing drag, or contamination. Dayco advises against using belt dressing on serpentine drives.
4) Should I remove the belt before cleaning it?
Removal is necessary for a complete rib and pulley inspection. Light dust on an accessible belt back may be wiped with the engine off. Never push a cloth between an installed belt and pulley.
5) How can I tell whether the tensioner is bad?
Warning signs include excessive arm movement, rough bearing noise, binding, pulley wobble, weak tension, or a belt that does not track correctly. Check it only with the engine isolated and follow the service procedure.
9. Conclusion
Clean a serpentine belt only when dirt is light and superficial. Keep the engine off, use a nearly dry lint-free cloth, and inspect the complete accessory drive before deciding to reuse the belt.
Oil, coolant, belt dressing, chemical swelling, glazing, rib loss, and exposed cords require replacement rather than stronger cleaning. If noise remains, diagnose tension, alignment, pulley bearings, accessory drag, and leaks instead of applying another product.
10. Sources
- Dayco, How to Fix Serpentine Belt Noise, retrieved 2026-07-16.
- Dayco, What Should I Do If the Belt Is Making a Squealing Noise?, 2021, retrieved 2026-07-16.
- Dayco, Serpentine Belt Inspection and Noise FAQs, retrieved 2026-07-16.
- Continental, Power Transmission Group Automotive Workbook, retrieved 2026-07-16.
- Gates, Tech Tip on Serpentine Belt Inspection Changes, retrieved 2026-07-16.
- Gates, Complete Micro-V Serpentine Belt Kits, retrieved 2026-07-16.